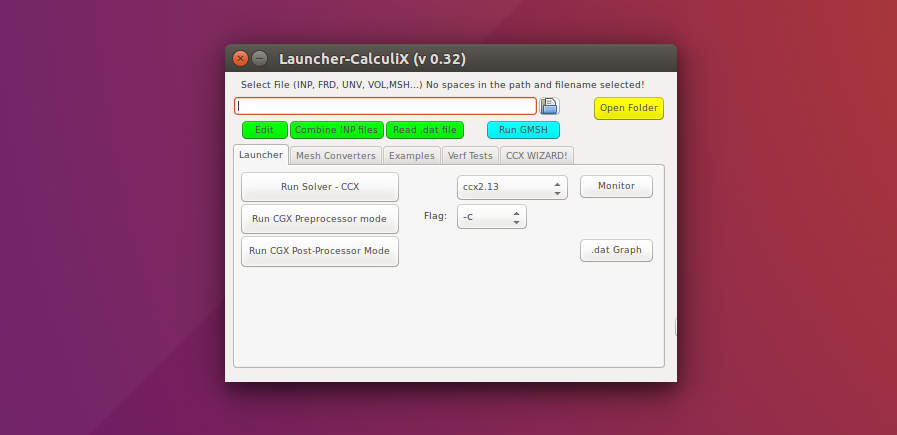
Calculix is an open source finite element analysis software. And Calculix Launcher is a tool that provides a nice graphical user-interface between the components of the tool stack. Read more from here.
This guide is primarily written for my self to point out the steps of the procedure of installing the tool set on a fresh Linux desktop environment. There is a video (by calculix09) of which shows the same steps in very detail, so I recommend using that if you are not familiar with the software. However, the list below may be used as a handy checklist later.
- Download appropriate installation package from Yandex drive (by launcher3) via this link. Note: Use the link at your own risk. All software are licensed by their authors. The writer of this blog post has no responsibility related to the software.
- Extract the archive
- Change the permission to “Allow executing file as a program” by right clicking the executable icon and selecting the Permissions tab on Properties window.
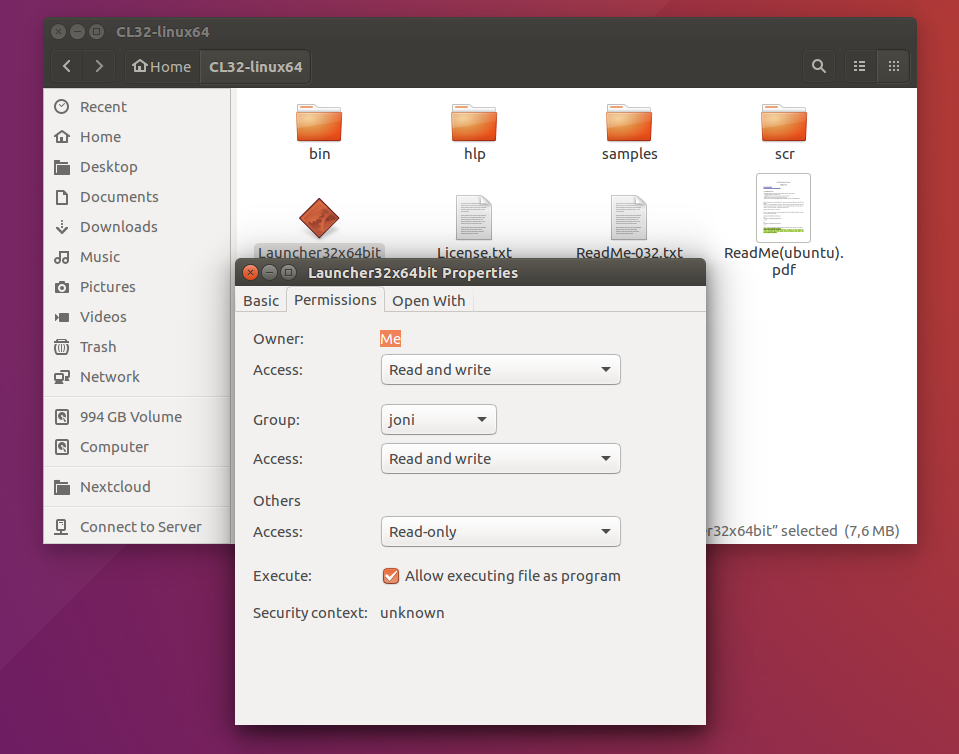
- Copy the path of bin -folder under the CL32-linux64 -directory (press ctrl+L inside the folder).
- Open terminal and type cd and paste the path, for example:
cd /home/joni/CL32-linux64/bin - Let’s make all binaries executable by typing command:
chmod 777 * - Now we can run the Launcher by double-clicking the executable icon (you may want to pin the icon to Ubuntu launcher after that)
That’s it. The Calculix Launcher is now available.
Let’s change some settings.
- On Launcher Menu, select Settings and set
geditas Name of Text Editor. - On Menu, select Run GSMH.
- On GSMH Tools, select Options, General and Advanced tab, to Text editor command add
gedit '%s' - Select File, and Save Options As Default
In case you want to see examples how to use it, please leave a comment below and I will publish some tutorials here.