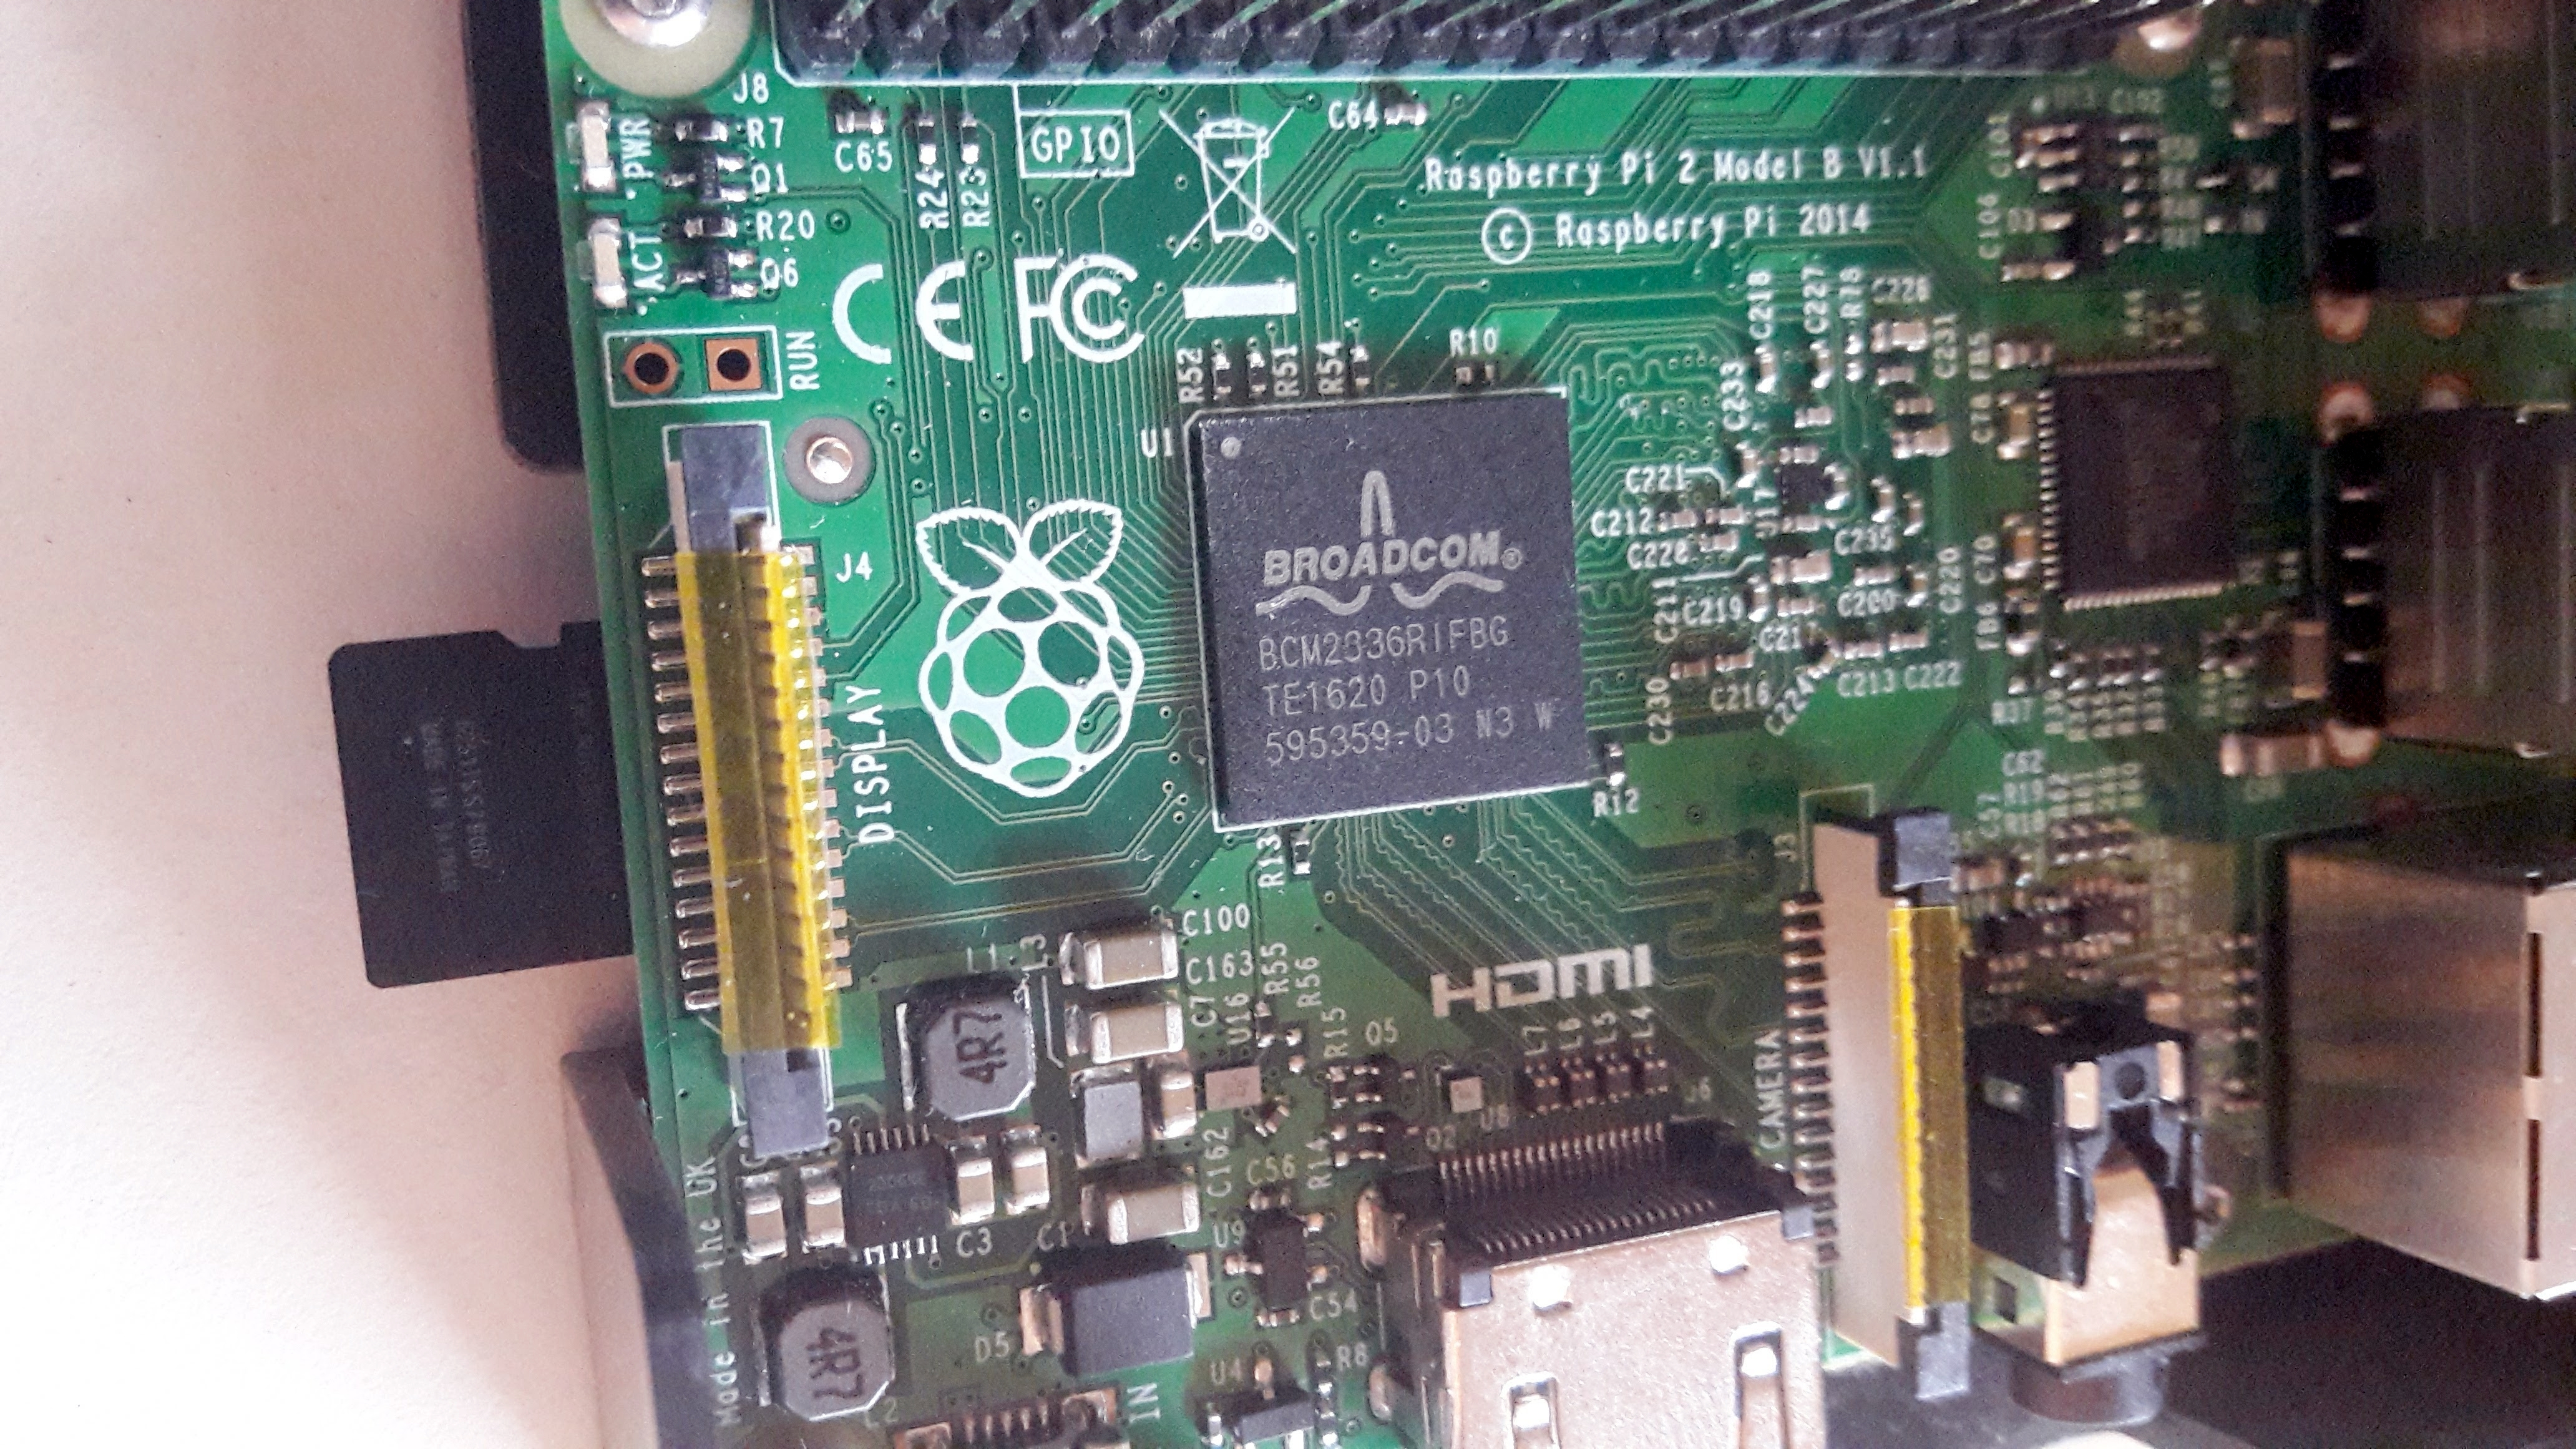
The first time I tested Home Assistant software was couple of years ago and it was on Linux desktop. I liked the idea and the execution, and it made me think I would like to able to build my own custom kit for some random home automation. So I decided I will get back to this as soon as I have a suitable platform to constantly run the software on. Later on, I found myself having a spare piece of Raspberry Pi 2 mini computer. Since then I have happily run Home Assistant on my Raspy and used it mostly for some lighting adjustments etc. Back then I installed my Home Assistant as Hassbian, which is a customized operating system for the Raspberry Pi. It was so far the easiest to install and use but requires the traditional command line access for maintenance actions. And now this may have changed. Follow through this tutorial and become a Home Assistant user in no time! All you need is a Raspberry Pi and minimum 4 GB SD card.
Hass.io is a dedicated operating system that takes care of installing and managing Home Assistant software on Raspberry Pi. It was introduced in H0me Assistant blog post at the end of July 2017.
Installation
Let’s dive in. You may start the installation by looking at these instructions. Choose and download the software package depending on which device you are going to install Hass.io on. I went with Raspberry Pi 2. Extract the resinos-hassio-1.0-raspberrypix.img.bz2 file and flask it to your SD card using Etcher. Flashing may take up to 5-10 minutes. At this point we could setup the WiFi or static IP as the instructions suggest as an optional step. However, we go now without it. Since I will be are using an Ethernet connection with a router there should be no configuration required and it should work out of the box. Also, one could consider setting up a static address being not necessary – or even recommended at all. All right, let’s insert the SD card into Raspberry Pi and switch on the device.
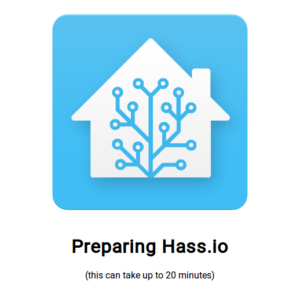
You can open a new browser tab and navigate to http://hassio.local:8123/ and wait couple of minutes. After the reboot ResinOS downloads Home Assistant and starts the installation. You will be soon able to see the following view at your browser window:

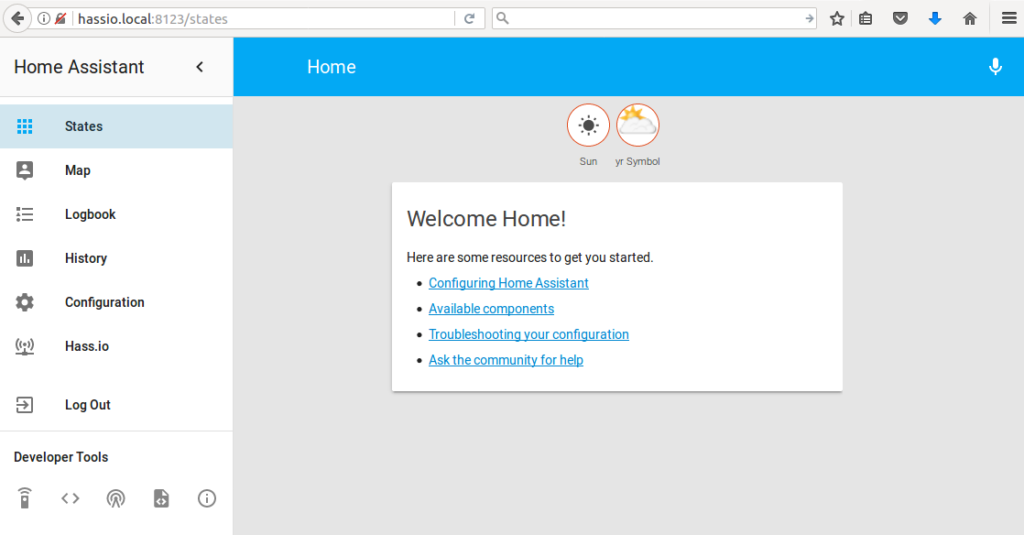
For me it took around 15 minutes Hass.io being setup and running. You will see the default Home Assistant welcome screen in your browser:

Getting Started
Nice. Now we have a fresh Home Assistant installation properly running. Obviously the next actions are setting up configurations and automations. To do so, we still need to do some adjustments. The design philosophy of Hass.io seems to be making the management of Home Assistant via web browser GUI as easy as possible. However, as far I know it does not yet support full control over the configuration files. Hence, we need to build some kind of access to the file base. There are couple of options for this but for sake of simplicity we deside not to prefer any command line tool for this but go with Samba add-on, which gives us a way to handle the files on our local desktop environment.
To install Samba follow these step on your Home Assistant instant opened in browser windows:
- On the left hand side menu click on Hass.io tab
- You will be noted there are no add-on installed, click on the link to add-on store
- Add-on store opens in the same view
- Scroll down to Samba Share and select it
- Click install
- It shows Info and Options but go with the defaults and click Start
- On the left menu again, select the first icon (Services) under Developer Tools
- Select the Domain as homeassistant and as Service set restart
- Then click on Call Service
- You will see a notification Connection lost. Reconnecting…
- After a minute or two Home Assistant is rebooted and Samba Sharing should be enabled
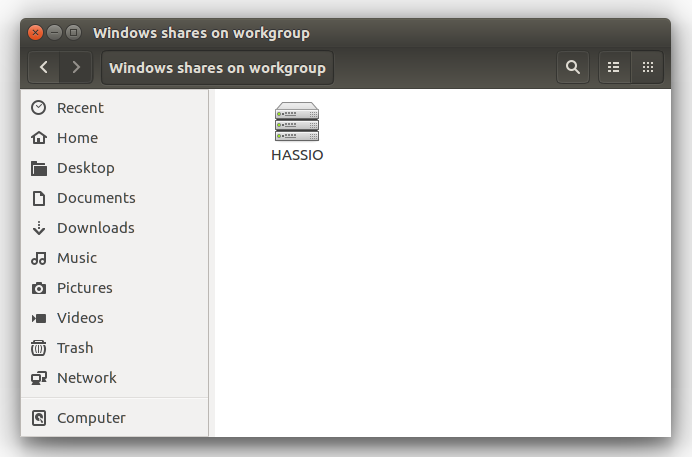
Now you are able to find your Hass.io files from your desktop computer that is using the same WiFi network as the Rasbperry Pi. You can browse in the file system Network folder and find HASSIO directory. On Ubuntu it looks like this:

There you can find configuration.yaml and automations.yaml-files, which allow you to freely tweak and customized your Home Assistant installation as normally. Look at the tutorial and example resources at Home Assistant website to get started. Also, come back to check my next Home Assistant post I will make for introducing some of the basic and most useful setups. Good luck!
